Your East Tennessee Retaining Wall Roadmap: From First Photo to Finished Wall
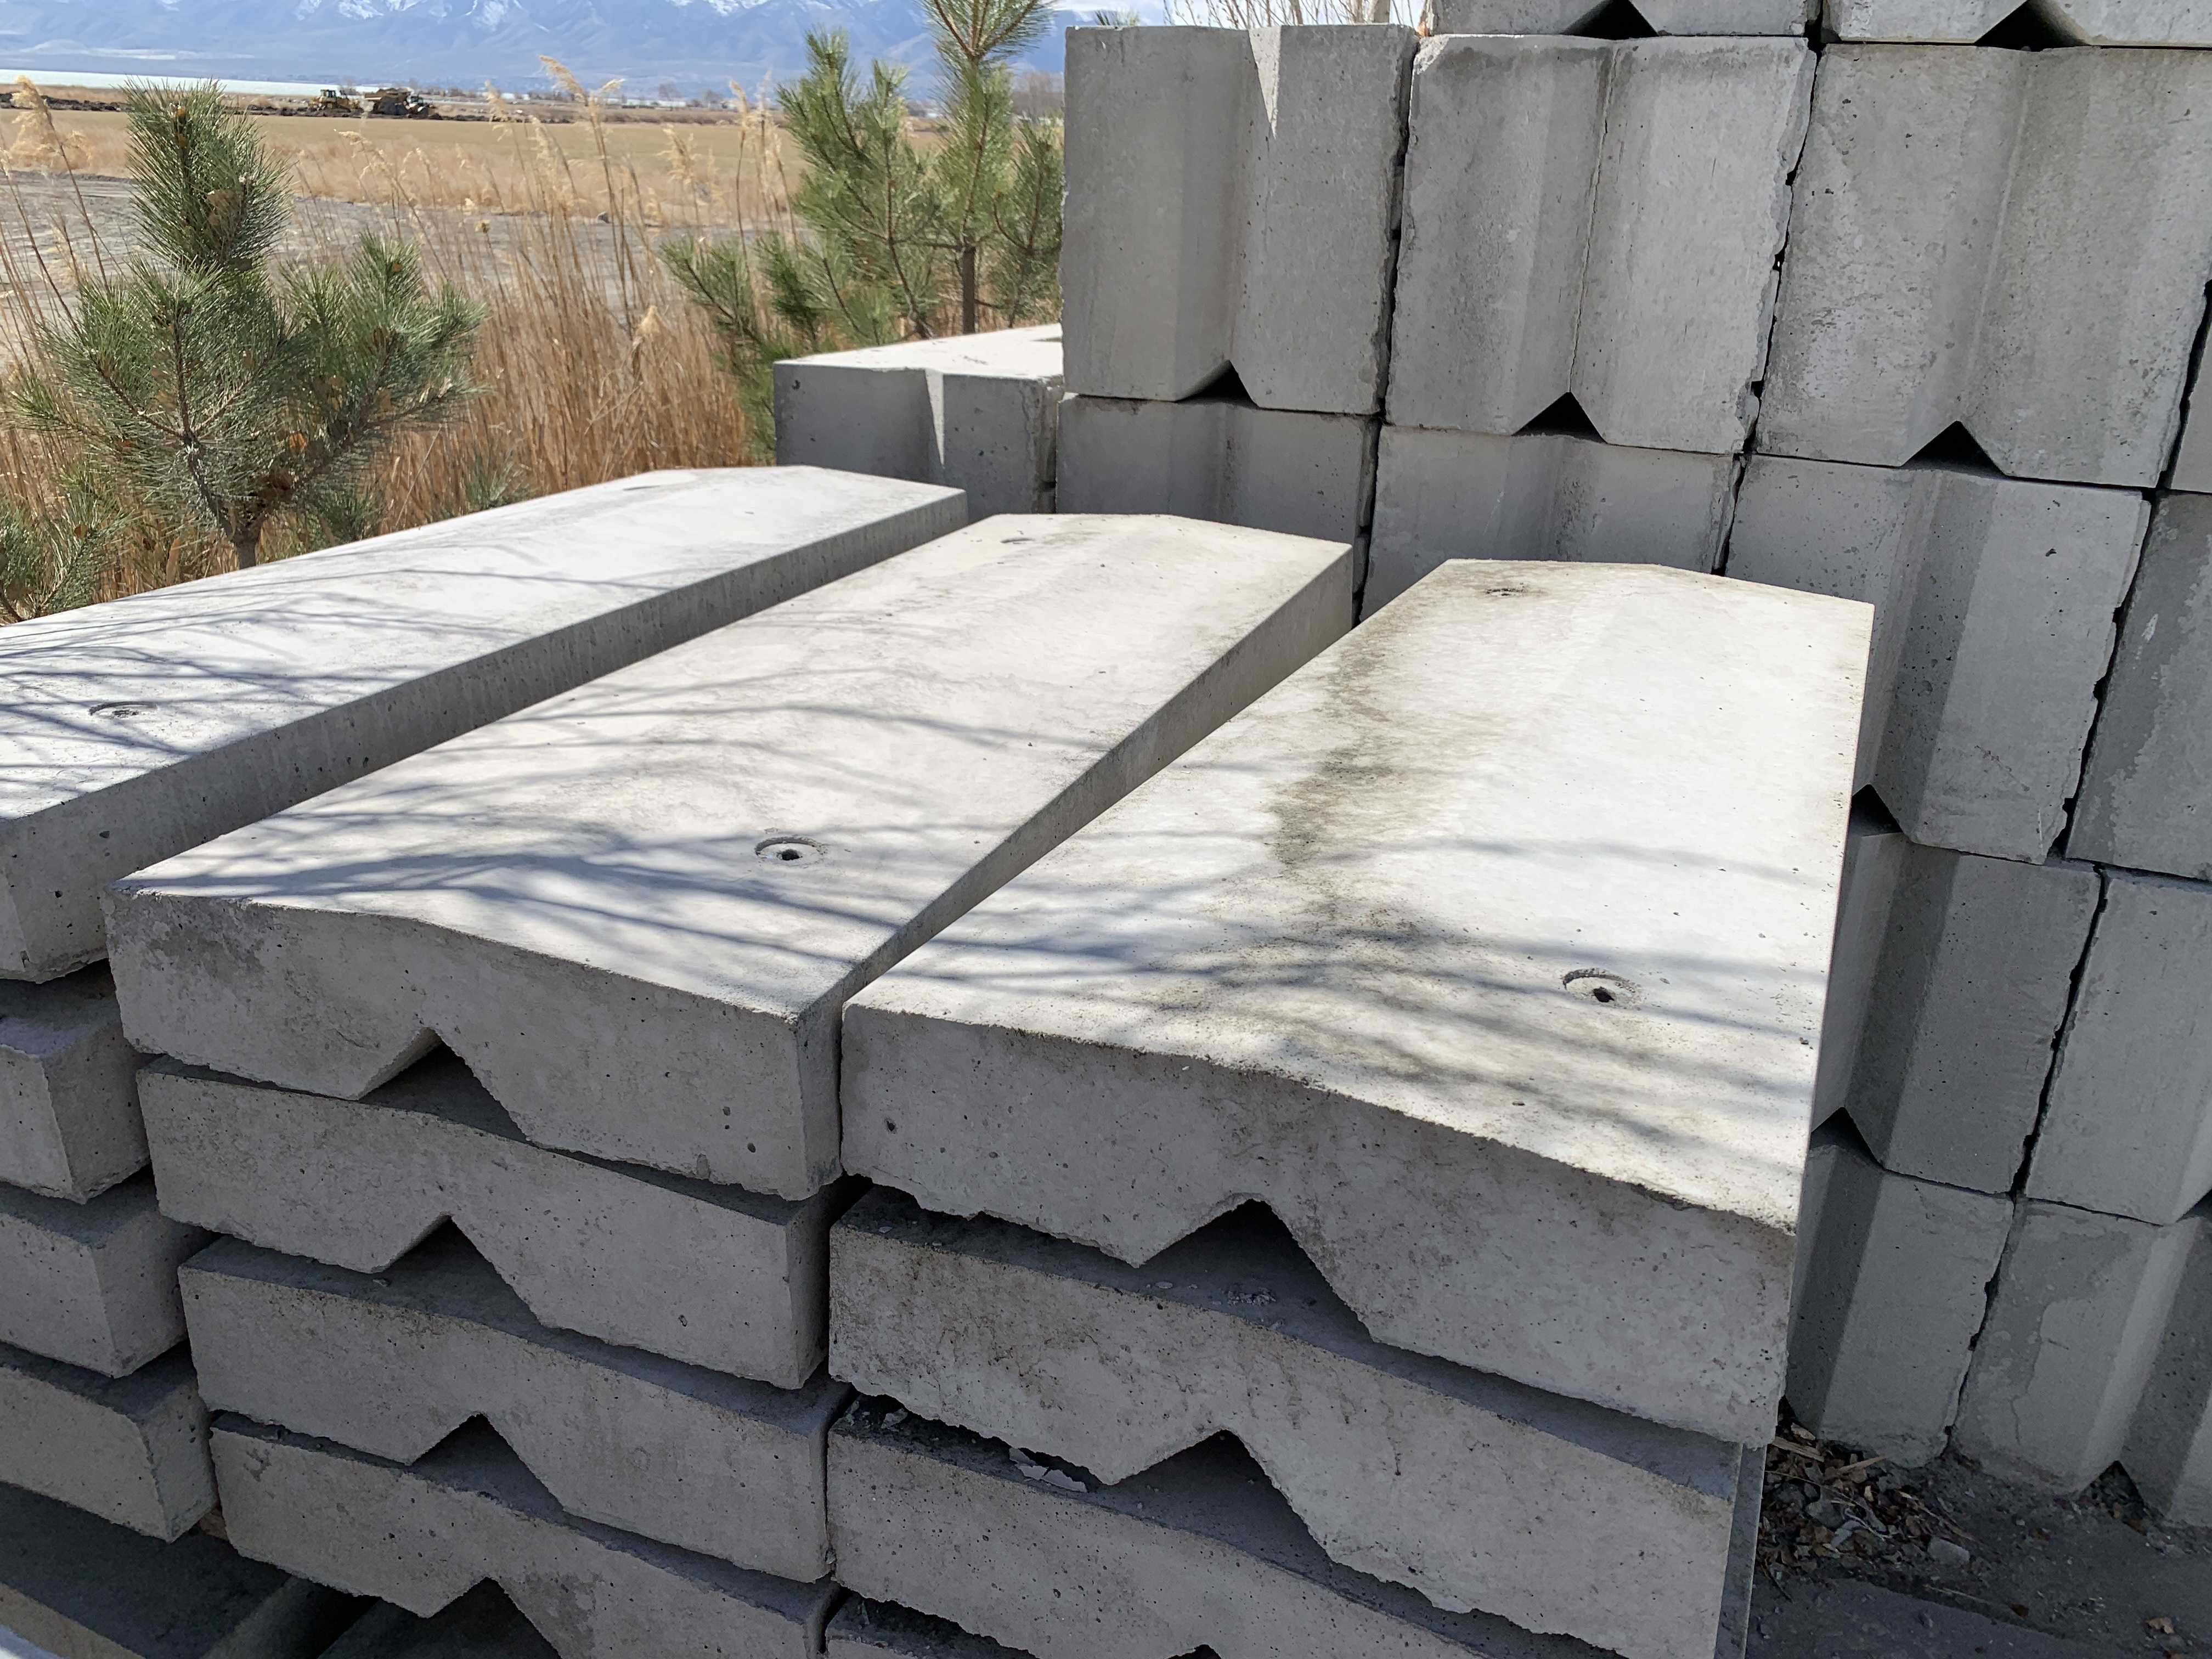
Ninety days of wall talk comes down to a road that every project travels, whether the wall is a one-course garden border or a tall terrace behind a Knoxville home. If you have read along through this series, you have seen the pieces one at a time: drainage, materials, anatomy, grading, seasons. This final post lays them end to end as a simple roadmap, so you can see where you are on the road and what the next step looks like from wherever you are standing.
The road starts with a photo. Before any measuring or estimating, take pictures of your slope the way it really is: after a rain if you can, from the top, from the bottom, and along the line where a wall might go. Note what the slope costs you now, whether that is unusable yard, eroding soil, a dangerous mowing job, or a building plan with nowhere flat to sit. That honest starting picture anchors every later decision, and it is the same picture you will be glad you have when the finished wall is standing in its place.
Next comes sizing and a site conversation. Measure the length of the slope and the drop as best you can, and try the wall calculator on the site for a first sense of scale. Then walk the site with an estimator who asks about water, use, property lines, and access, and who explains the footing, drainage, and backfill plan in plain words. This is where choices get made: one wall or terraces, plain or brown finish, and whether the top course takes a cap finish. A careful plan at this stage is the cheapest quality you will ever buy, because it costs conversation rather than rework.
Then the build itself, which follows the anatomy this series described. Excavation and a prepared base below grade, a level first course of big eco blocks, roughly two feet by two feet by four feet each, rising course by course with drainage material and staged backfill behind them, and a drainage outlet placed where its water has somewhere sensible to go. The days in the middle look like pure construction, because they are. The standard to hold in mind is simple: the hidden layers are being built as carefully as the face you can see.
The road continues into the finishing work that makes a wall look built-in rather than delivered. Final grading shapes the ground above the wall so runoff goes around instead of over, restores the ground below, and tapers the ends back into the slope. Then grass or planting re-establishes on the disturbed ground, the chosen finish settles into its landscape, and the level area behind the wall starts its real life as lawn, garden, patio ground, or a building pad. Judge the project at this stage by the whole shaped piece of land, not just the wall face.
Finally, the road settles into ownership, which this series covered in the seasonal calendar. A short walk each season, checking drainage in spring, growth and storms in summer, debris in fall, and freeze and thaw in winter, plus dated photos from the same spots, keeps a good wall good for the long haul. Most walks find nothing to fix, and that is the quiet success a well-built wall aims for. When something does change, you will spot it early, while it is still a maintenance item instead of a project.
Wherever you are on this road, the next step is smaller than you think. Still at the photo stage? Take the pictures this week, while winter has the ground bare and honest. Ready to talk it through? Call (423) 358-2317 for a free estimate, and bring your photos and your questions. East Tennessee slopes are not going to level themselves, but with a sound wall at the end of this roadmap, you only have to solve yours once.
Want to know what your wall takes? Run the wall calculator for a block count, then send your details for a free estimate — no pressure, no obligation.