What Happens During a Wall Build: From Excavation to Backfill, Day by Day
Homeowners who have never had a retaining wall built often picture the job as simply stacking blocks until the wall looks done. The stacking is real, but it is the middle of the story. A wall build around Knoxville follows a sequence, and each stage exists because the next one depends on it. Knowing the order helps you understand what you are seeing in your yard each day, why some days look dramatic and others look slow, and which moments are worth stepping outside to look at before they get covered up.
The build starts with layout and preparation. The wall line is marked on the ground, including any corners, curves, steps, and ends, and the final grades above and below the wall are talked through one more time on site. Access is confirmed, delivery spots for blocks and gravel are chosen, and anything in the way, from brush to an old failing wall, is cleared or removed. This is also when underground surprises are best avoided, by confirming where known lines and systems sit before a bucket ever goes in the ground. A careful layout day prevents mid-job redesigns.
Excavation comes next, and it is the messiest stage. A trench is dug along the wall line down to firm ground for the base, and enough soil is removed behind the wall line to make room for the drainage zone and working space. On an East Tennessee site, this is where red clay makes its presence known, and where the crew learns exactly what your hillside is made of. Extra soil may be stockpiled for reuse in grading or hauled off if there is no place for it. An open trench is not pretty, but its depth, level, and firmness decide the future of the wall more than anything that happens later.
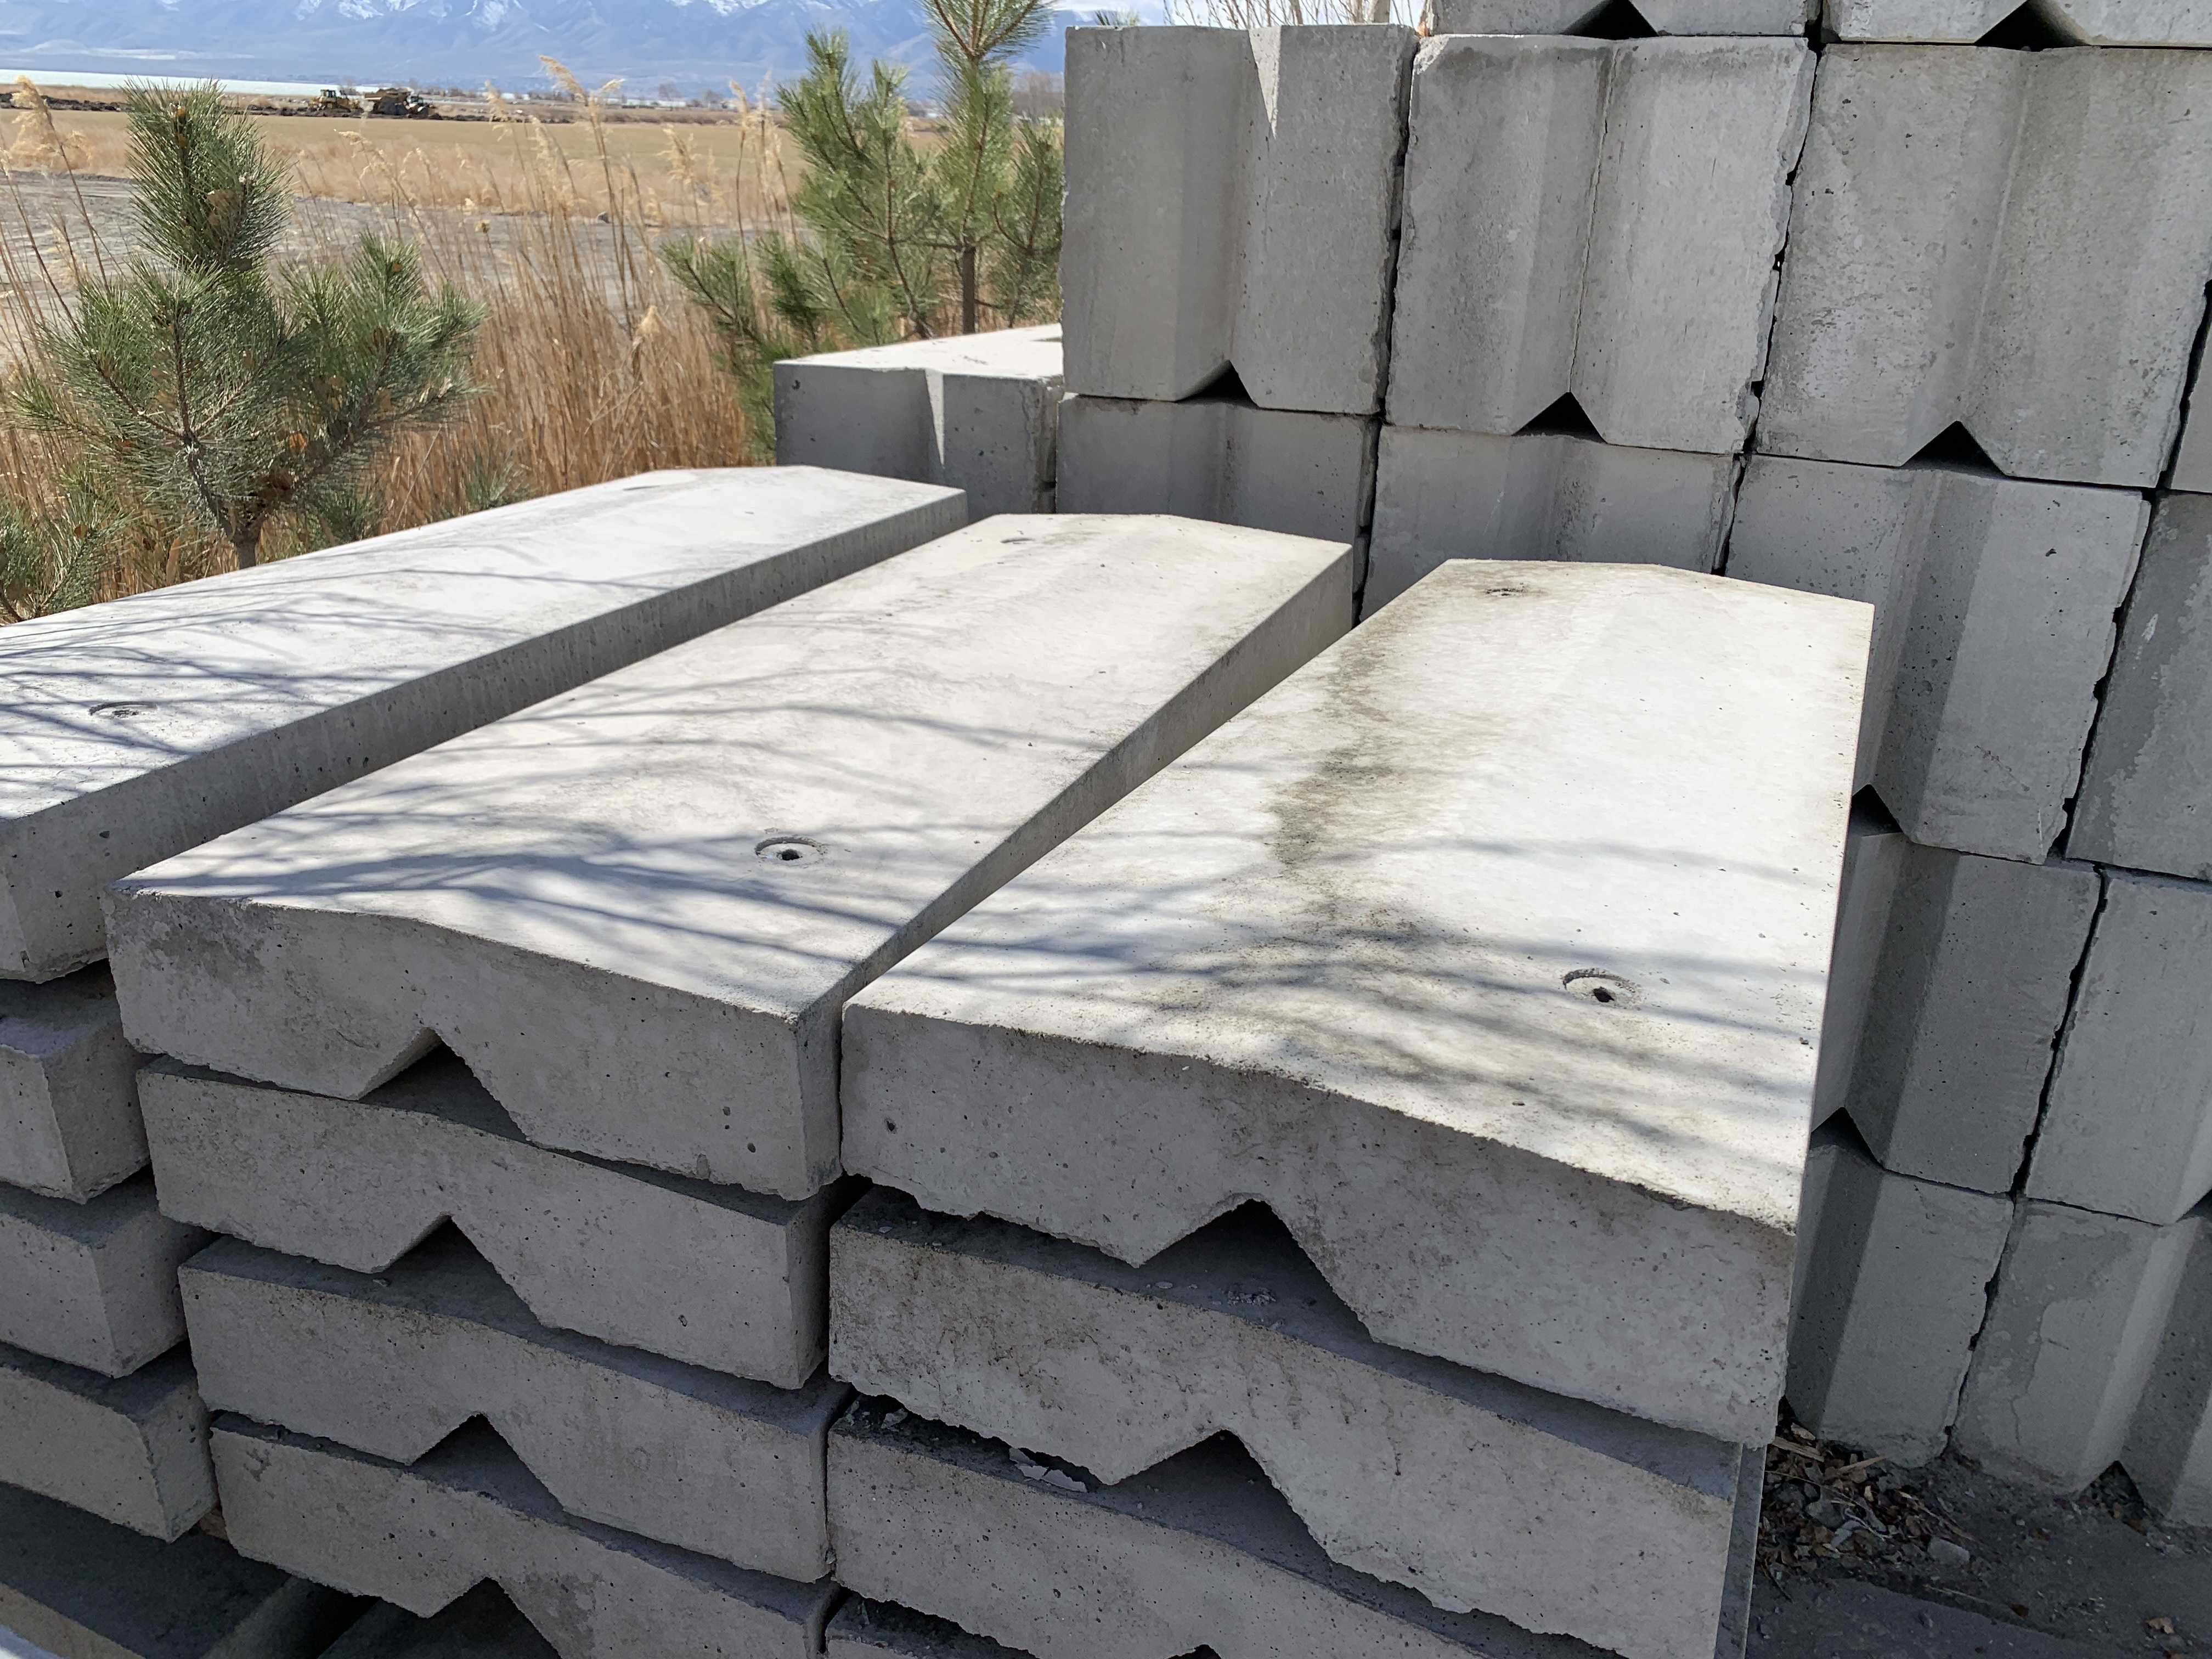
Then the base goes in. Gravel is placed in the trench, leveled precisely, and compacted into a pad, and the first course of eco blocks is set into it, buried below grade. Each block, roughly two feet tall, two feet deep, and four feet long, is checked for level front to back and along the run, because every course above will inherit whatever the first course does. This is the slowest, fussiest part of the whole build and the one experienced builders refuse to rush. If you walk out to look at one stage closely, make it this one, before the base disappears underground for good.
With the first course true, the wall rises course by course, and the work settles into a rhythm. As each course goes up, gravel is placed behind it around the drain pipe, and backfill is added in layers and compacted rather than dumped in loose. Corners are fitted, steps are built in where planned, and the line and level of the wall are checked constantly, not just at the end. This stacking, draining, and backfilling cycle is the heart of the job, and it is why a finished wall is really a system, with most of its substance hidden behind and under the face you see.
The last stage is finishing. The top course is completed and, if chosen, a top cap is cut, fitted, and set along the top for a clean finished edge. The ground above the wall is graded so surface water moves away or along a planned path instead of ponding behind the wall, and the area below is graded smooth. Remaining soil is spread or removed, the site is cleaned up, and the finishes, plain or brown, finally get to show themselves without dust and equipment in the way. A final walk-through together is the right time to check lines, caps, drainage outlets, and grading while everything is fresh.
Timelines vary with wall length and height, access, soil, and weather, and any builder who promises an exact finish day before seeing your ground is guessing. What should not vary is the order of operations and the care at the base and drainage stages. If you are planning a wall and want to know how the build would run on your lot, try the wall calculator on easttnretainingwalls.com for a starting estimate, or call (423) 358-2317 for a free estimate. We will walk your site, explain the sequence for your specific slope, and build it in the order that makes walls last.
Want to know what your wall takes? Run the wall calculator for a block count, then send your details for a free estimate — no pressure, no obligation.