The Anatomy of a Finished Wall: Course by Course From Footing to Cap
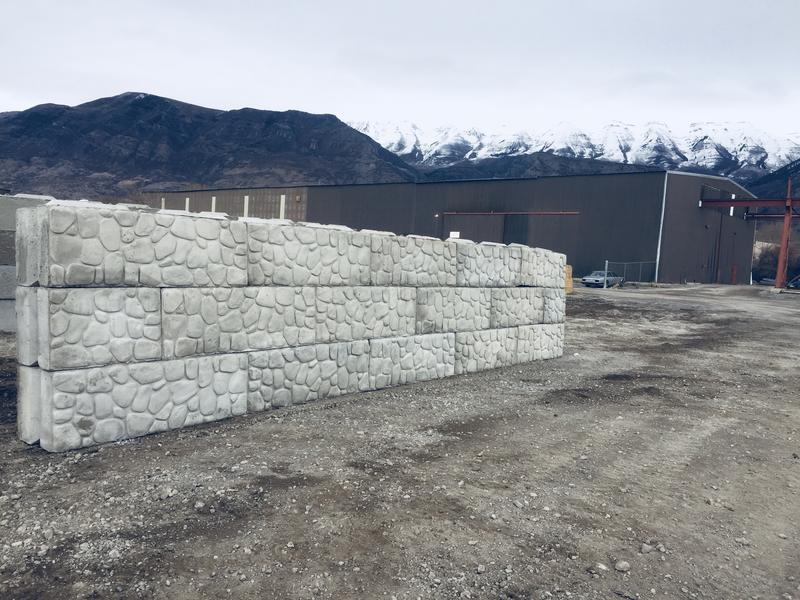
From the street, a finished retaining wall looks almost plain: a face of big blocks, a clean top edge, and level ground behind it. That plain look is the result of a series of layers, each one doing a specific job. Understanding the anatomy of a wall helps you judge the work you are paying for, ask better questions before it starts, and know what you are looking at during the seasonal checks every wall deserves. Here is the build, from the ground up.
It starts below the surface with excavation and the footing area. The slope is cut back to make room for the wall and the drainage behind it, and the base is prepared at a depth that puts the first course partly below grade. That buried portion matters more than most people realize. A wall that starts right at surface level has nothing anchoring it against the slow push of the soil, while a properly buried base course locks the whole structure into the ground and gives the courses above a level, solid place to begin.
The first course is the most fussed-over part of the whole build, and rightly so. Each block, roughly two feet tall, two feet deep, and four feet long, has to sit level and in line, because every course above follows it. A small error at the base becomes a visible lean several courses up. Experienced crews take their time here, checking level constantly, knowing that patience at the bottom is what makes the upper courses go quickly and come out straight.
From there the wall rises course by course, with each row offset and seated firmly on the one below. Behind the blocks, as the wall climbs, goes the drainage layer: clean material that lets water fall freely to the base instead of soaking into the soil pressed against the wall. A drain path at the bottom collects that water and carries it to an outlet. This hidden zone is the difference between a wall that carries only soil weight and a wall that also fights trapped water after every storm, and it is built gradually, in step with the courses, never as an afterthought.
Backfill and compaction happen in stages too. Soil is returned behind the drainage layer in lifts and firmed in as the wall rises, rather than dumped in all at once at the end. That staged approach keeps pressure even and prevents the loose, settled look that shows up months later when poorly compacted soil sinks. Near the top, the final grade is shaped to shed surface water away from the wall or into a shallow swale, so rain running down the yard does not pour directly into the backfill.
The top course finishes the structure, and many walls add a top cap finish, a dedicated cap block that gives the wall a clean, completed edge and helps shed water off the top. Eco blocks come in plain and brown finishes, so the face and cap can match the setting, plain for a simple working wall and brown where the wall is part of the visible landscaping. Once the cap is on, the last steps are the final grading above and below and getting grass or planting established on the disturbed ground.
Knowing this anatomy changes how you look at any wall, including older ones on property you might buy. You start asking about the buried course, the drainage outlet, and the backfill instead of only judging the face. If you are planning a wall of your own, try the wall calculator on the site to start sizing it, or call (423) 358-2317 for a free estimate. A wall is a simple-looking thing built out of careful layers, and the layers you cannot see are the ones doing most of the work.
Want to know what your wall takes? Run the wall calculator for a block count, then send your details for a free estimate — no pressure, no obligation.