Retaining Wall Cap Installation: Finishing the Top Course Right
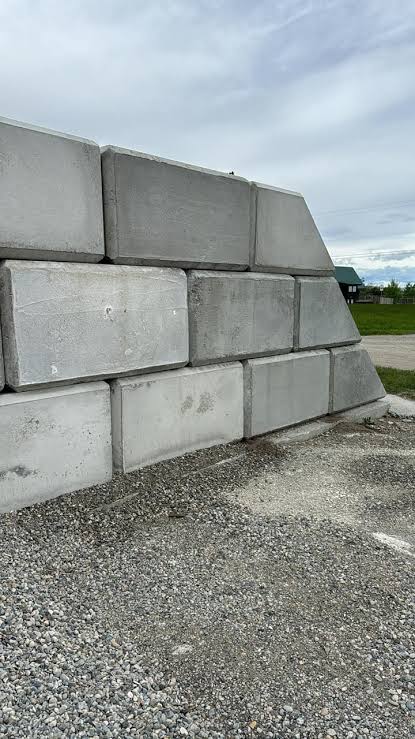
The top course of a retaining wall is the part everyone sees up close. It is the line your eye follows along a patio, the edge you sit on in the garden, and the surface that takes direct rain every storm. Adding a top cap and installing it well is what turns a stack of blocks into a finished wall. Caps are not just decoration. Done right, they tie the top course together, help shed water off the wall, and protect the top edge from wear.
A cap sits across the top of the final course, usually with a slight overhang on the front face. That overhang creates a clean shadow line and throws dripping water clear of the face below, which helps the front of the wall dry faster and stay cleaner. On an eco block wall, where each block is roughly two feet tall, two feet deep, and four feet long, the cap gives the top a finished scale that matches the size of the blocks. Walls can be finished with or without a cap, but where the wall is prominent, most people prefer the capped look, including on both the plain and brown finishes.
Preparation is where a good cap job is won. The top course has to be level and true before the first cap goes down, because a cap will faithfully show every dip and hump under it. The top of the blocks should be clean and dry enough for adhesive or mortar, depending on the method used, to bond properly. Caps are then set one at a time, checked for level front to back and along the run, and aligned so the front edges form one straight or smoothly curved line. Rushing this step is visible from across the yard every single day.
Corners, ends, and steps are the fussy parts. A straight run of caps is straightforward. Where the wall turns a corner, steps down a slope, or meets stairs built into the wall, caps have to be cut and fitted so joints stay tight and the pattern looks intentional. On a stepped wall, each level change needs its cap work planned so the higher section finishes cleanly into the lower one instead of ending in a jagged stub. Those details take extra cuts and time, and they are a big part of the difference between a wall that looks built and a wall that looks stacked.
Water behavior at the top deserves attention too. The soil and grade behind the top course should finish slightly below the cap and slope so rain does not pond against the back edge or pour over the face in one spot. Mulch and soil piled above the cap line in planting beds can spill over and stain the face and hold moisture against the joint. A little care in the finished grading, and keeping beds from creeping over the cap over the years, keeps the top of the wall working and looking the way it did when it was set.
Maintaining caps is simple. Walk the wall once or twice a year and look for a cap that has shifted, rocked, or opened a joint, especially after a hard winter freeze and thaw. One loose cap caught early can be reset before water gets into the joint and makes the problem bigger. Keep vines and roots from prying at the cap line, and avoid pressure washing directly into the joints at close range. Beyond that, a cap course mostly just does its quiet job year after year.
If you are planning a wall and deciding how it should finish, picture where you will see it from most, your patio, your driveway, or the street, and choose the finish that fits that view. Try the wall calculator on easttnretainingwalls.com for a starting estimate for your project, or call (423) 358-2317 for a free estimate. We will talk through the plain and brown finishes and the top cap option in person, so the top of your wall looks as solid as the rest of it works.
Want to know what your wall takes? Run the wall calculator for a block count, then send your details for a free estimate — no pressure, no obligation.